
In this blog, we are planning to develop the Leave Approval process with integration of the PowerApps, Microsoft Flow and SharePoint as the Data Source.
Why PowerApps:
PowerApps is a “No-Code” way to develop forms and Application with Various Data Sources.
It helps us to create forms for performing CRUD Operations around a Table of data. The “Table of Data” can be SharePoint Online, Salesforce, Dynamics 365 and Many more.
The other big announcement is that Flow and PowerApps will end up being tightly integrated into a SharePoint online list or library. It will actually begin to feel like it’s part of SharePoint, which is pretty cool!
That’s what we are going to perform in this blog today using PowerApps.
This solution has a SharePoint custom list of Leave Approval, We’ll create the Application Form using one of the best Low-Code Application Generator PowerApps. Microsoft Flow Will be used as the Approval Service provider for the Leave Approval process, Microsoft Flow Takes the Data from SharePoint and Sends the Mail to the Approver. It will save and approve the Item to the SharePoint custom list after Approver’s Response.
Let’s build the Low Code solution:
Create a custom list in SharePoint Online
Create a custom List “Leave Management” with these columns
- Title Default Column of SharePoint
- Type of Leave Single Line of Text
- Start Date Date Column
- End Date Date Column
- Reason for Leave Multi-line
- Leave Status Choice or Single Line of Text

Create a PowerApp
To Create PowerApp we have two Approaches
- You can Create or Customize a “New Item Form” using PowerApp Forms.
- You can create Application form from the PowerApps Portal. (In this blog I’ll go through this Approach).
Please follow the below steps to create Power App.
Step 1: Go to https://powerapps.microsoft.com and sign in with Microsoft Account. OR from the Office 365 Waffle click on the PowerApps to Log in Automatically to the PowerApps Portal.
Step 2: Click on the “Apps” form Left Navigation Menu.
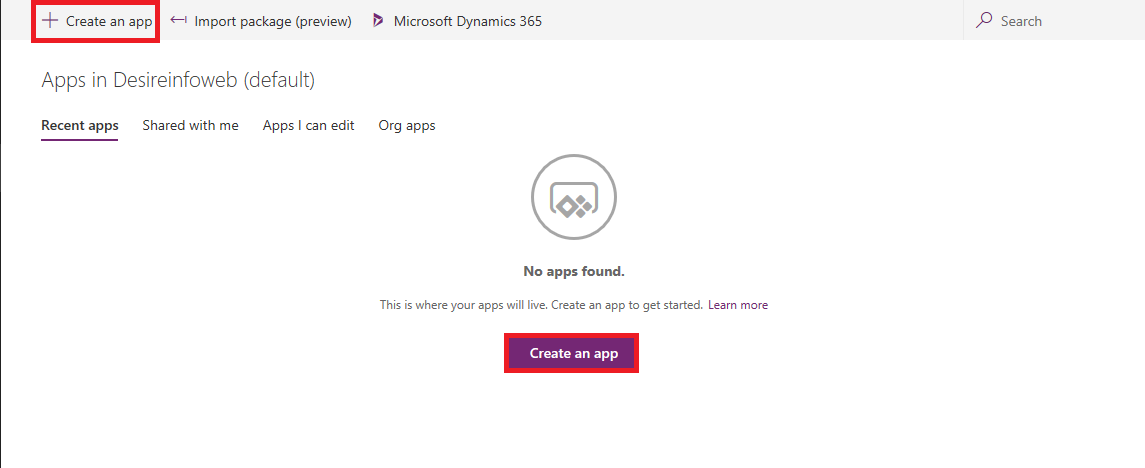
Step 3: Click on Create App button from the Top bar or from the center of the Screen.
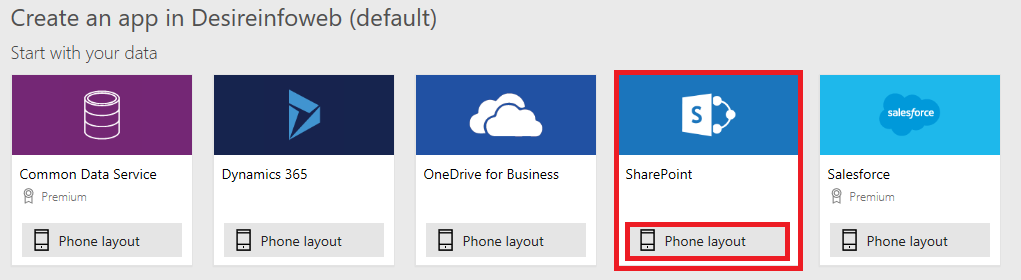
Step 4: Click on the “Phone Layout” on the SharePoint Tile. It’ll create the connection with the SharePoint to create the application from the SharePoint list.
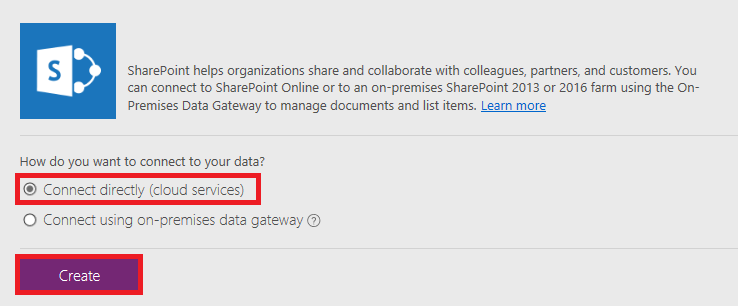
Step 5: In This Step, we have to select the Data Gateway for the SharePoint, I am Going to Use Connect directly (cloud services).
Note: When you are Creating the PowerApp Application, It’ll configure some of the above configurations Automatically.
Step 6: Here we need to Select SharePoint site and click “GO”.
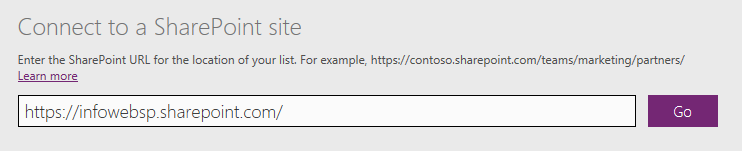
Step 7: You’ll have the list of Available List Names in that site. You can enter the List name by yourself in given text box. Click on List and then Click on Connect.

After some time, you’ll have the Out of The Box No Code PowerApps Mobile and PC Friendly Application for your SharePoint List.
This is the PowerApps Screen which will allow us to Customize and Enhance the Capabilities of the PowerApps for Developing Application as per the Business Need.
The glance into the PowerApps Screen
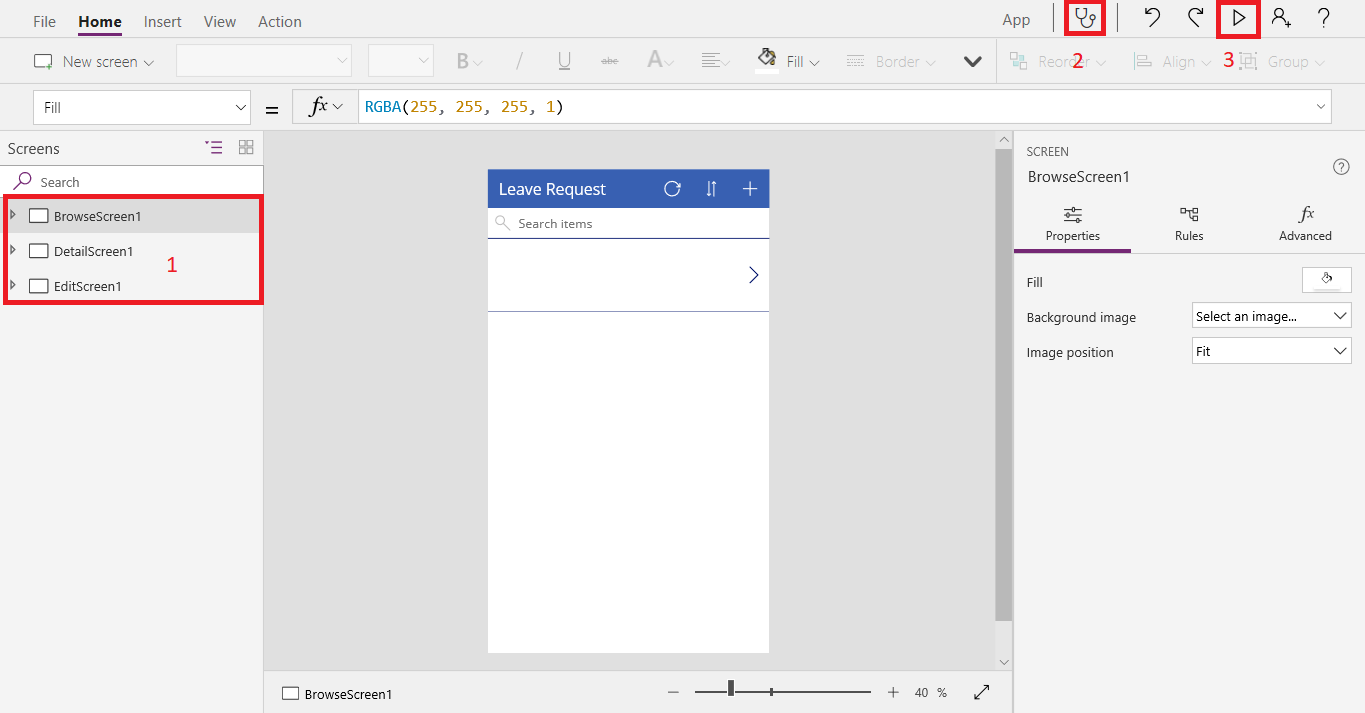
- This Portion displays the Number of Screens and the Controls are used into the Application.
- It’ll indicate the Health of your application if there is an error in the Applications Formula it’ll show you.
- “Play” Button, it’s very helpful in Testing Application you can Instantly Test your Application inside the Browser without Publish Application into the SharePoint.
Every Out of the Box Application has three different Screens as we can see in the above image you’ll have three screens described below
- Browse Screen: Browse Screen is a bit like a list view in SharePoint listing items of SharePoint list. There is full control over how it’ll look like. It is possible to add images to each of the items to make things look even better
- Details Screen: A form screen which let you view the details of the SharePoint list.
- Edit Screen: A form screen is like a display and edit form. by added fields to the form and for selecting a layout there is control over how the form looks. Also, this screen can be used as a New Item Form.
Trick to Remove Unnecessary Fields of SharePoint List
Step 1: Click on Edit Screen -> EditForm1
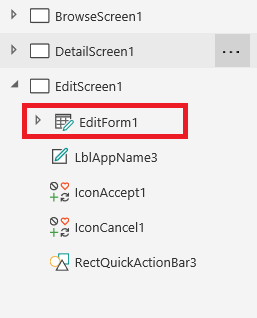
Step 2: After that on the right side of the Screen you have Data, Fields etc. fields under the Properties Tab.
under that Click on the Fields.
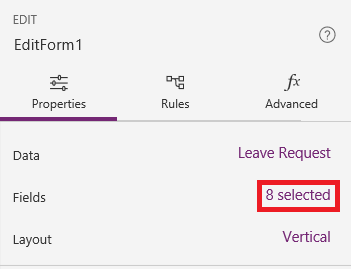
Step 3: After that, you’ll have a new configuration menu which defines the SharePoint list’s all details and Fields.
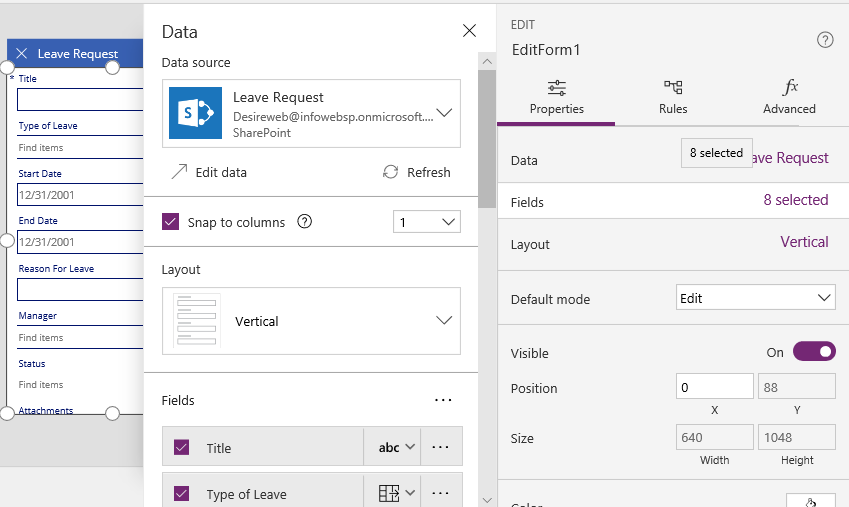
Step 4: Select the Fields you want in the Edit form and Uncheck the fields which you don’t want users to see which are created by SharePoint Auto-generated columns.
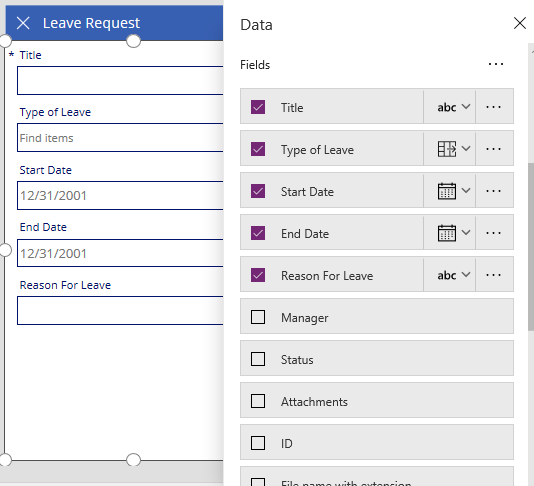
as you can see in below Image, we have only selected Fields in the Form. Other fields are not into the Edit form.
I have Unchecked the Attachment, Manager (I have Predefined Manager), and Status Fields form the Fields.
Now users won’t see the Manager, Attachment and Status Fields when they Enter the details.
Leave request process is completed using PowerApps. Please follow the below Approval process using Microsoft Flow.
https://blog.dodhia.co/sharepoint-business-applications-using-powerapps-and-flow-part-2/